cropped-GHT-logo.jpg
  • Home
  • About GHT
    • Our History
    • Our Activities
      • The Blue Plaque Scheme
    • Chair’s Report
    • Policies and Statements
  • Glossop’s Heritage
    • Places
    • People
    • Industry
    • Events
    • Organisations
    • Military
  • Support GHT
  • News & Resources
    • Walks
    • History Series
  • Contact GHT
  • Home
  • About GHT
    • Our History
    • Our Activities
      • The Blue Plaque Scheme
    • Chair’s Report
    • Policies and Statements
  • Glossop’s Heritage
    • Places
    • People
    • Industry
    • Events
    • Organisations
    • Military
  • Support GHT
  • News & Resources
    • Walks
    • History Series
  • Contact GHT

Home » GHTArchives » Instructions for Fixing Jackson’s Original Belt Fasteners for Butt Joints

Photograph of instructions for fixing belt fasteners - step 6
  • Category: Jackson's Fasteners, Other Industry

Instructions for Fixing Jackson’s Original Belt Fasteners for Butt Joints

  • Published: August 21, 2020

The following illustrates a butt joint made with Jackson’s Original Plate Fasteners, but this method applies equally to all types of Jackson’s Original Double Bolt Belt Fasteners for butt joints including:- Hawkshead Plate Fasteners, Slotted Button Plate Fasteners & Original Button Plate Fasteners.

No.1. It is essential that the ends of the belt are cut perfectly to shape.
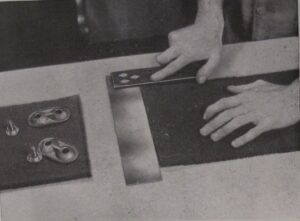
Photograph of instructions for fixing belt fasteners - step 1
Step 1

No.2. Nail the belt to a piece of wood, keeping the ends close together. Lay the required number of Fastener Plates on the Belt, taking care that they are distributed at equal distances apart. Using a pencil, mark for punching through the holes in the Plates.
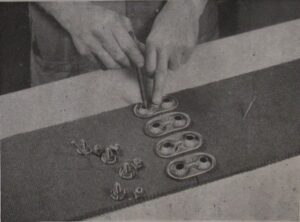
Photograph of instructions for fixing belt fasteners - step 2
Step 2

No.3. As an alternative to marking for punching as shown in Illustration No.2, the joint can be made more easily by using the “Jackson” Leather Safe. This Safe not only acts as a template, but also increases the strength of the joint.
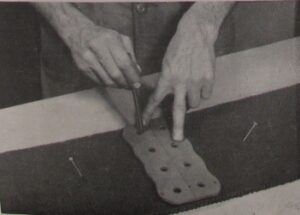
Photograph of instructions for fixing belt fasteners - step 3
Step 3

No.4. Draw out the nails securing the Belt and using a “Jackson’s” Solid Steel Belt Punch, punch the appropriate size of hole in the Belt at the points marked.
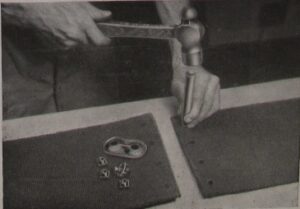
Photograph of instructions for fixing belt fasteners - step 4
Step 4

No.5. Turn the Belt over and drive the screws through, using a large nut so that the screws and loose underwashers are embedded in the Belt.
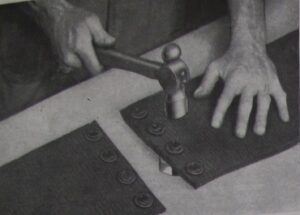
Photograph of instructions for fixing belt fasteners - step 5
Step 5

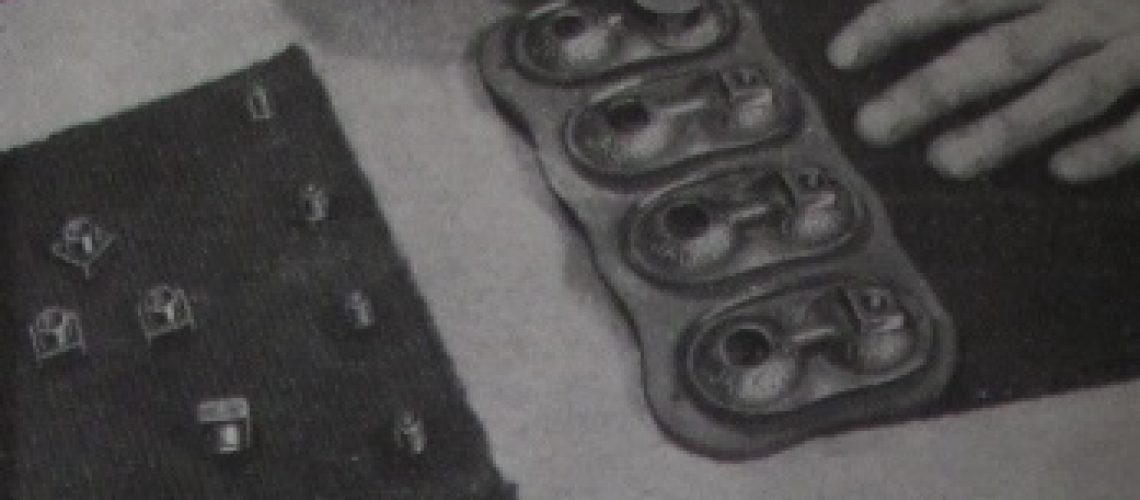
No.6. Turn the Belt over once again and, if a Leather Safe is being used, put this on one end of the belt, then screw the nuts down sufficiently to hold the fasteners in position.

Photograph of instructions for fixing belt fasteners - step 6
Step 6

No.7. Throw the belt round the pulleys and complete the joint. Care must be taken to ensure that the fasteners are screwed up to their fullest extent with a good key.
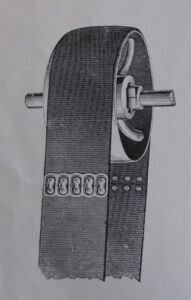
Photograph of instructions for fixing belt fasteners - step 7
Step 7

Re-tighten the nuts after the Belt has been working for a few hours.

Share this post

Copyright ©1999-2026 Glossop Heritage Trust. All rights reserved.

  • enquiries@glossopheritage.co.uk
We use cookies on our website to give you the most relevant experience by remembering your preferences and repeat visits. By clicking “Accept”, you consent to the use of ALL the cookies.
Cookie settings Read More ACCEPT
This site uses cookies

Privacy Overview

This website uses cookies to improve your experience while you navigate through the website. Out of these, the cookies that are categorized as necessary are stored on your browser as they are essential for the working of basic functionalities of the website. We also use third-party cookies that help us analyze and understand how you use this website. These cookies will be stored in your browser only with your consent. You also have the option to opt-out of these cookies. But opting out of some of these cookies may affect your browsing experience.
Necessary
Always Enabled
Necessary cookies are absolutely essential for the website to function properly. This category only includes cookies that ensures basic functionalities and security features of the website. These cookies do not store any personal information.
Non-necessary
Any cookies that may not be particularly necessary for the website to function and is used specifically to collect user personal data via analytics, ads, other embedded contents are termed as non-necessary cookies. It is mandatory to procure user consent prior to running these cookies on your website.
SAVE & ACCEPT